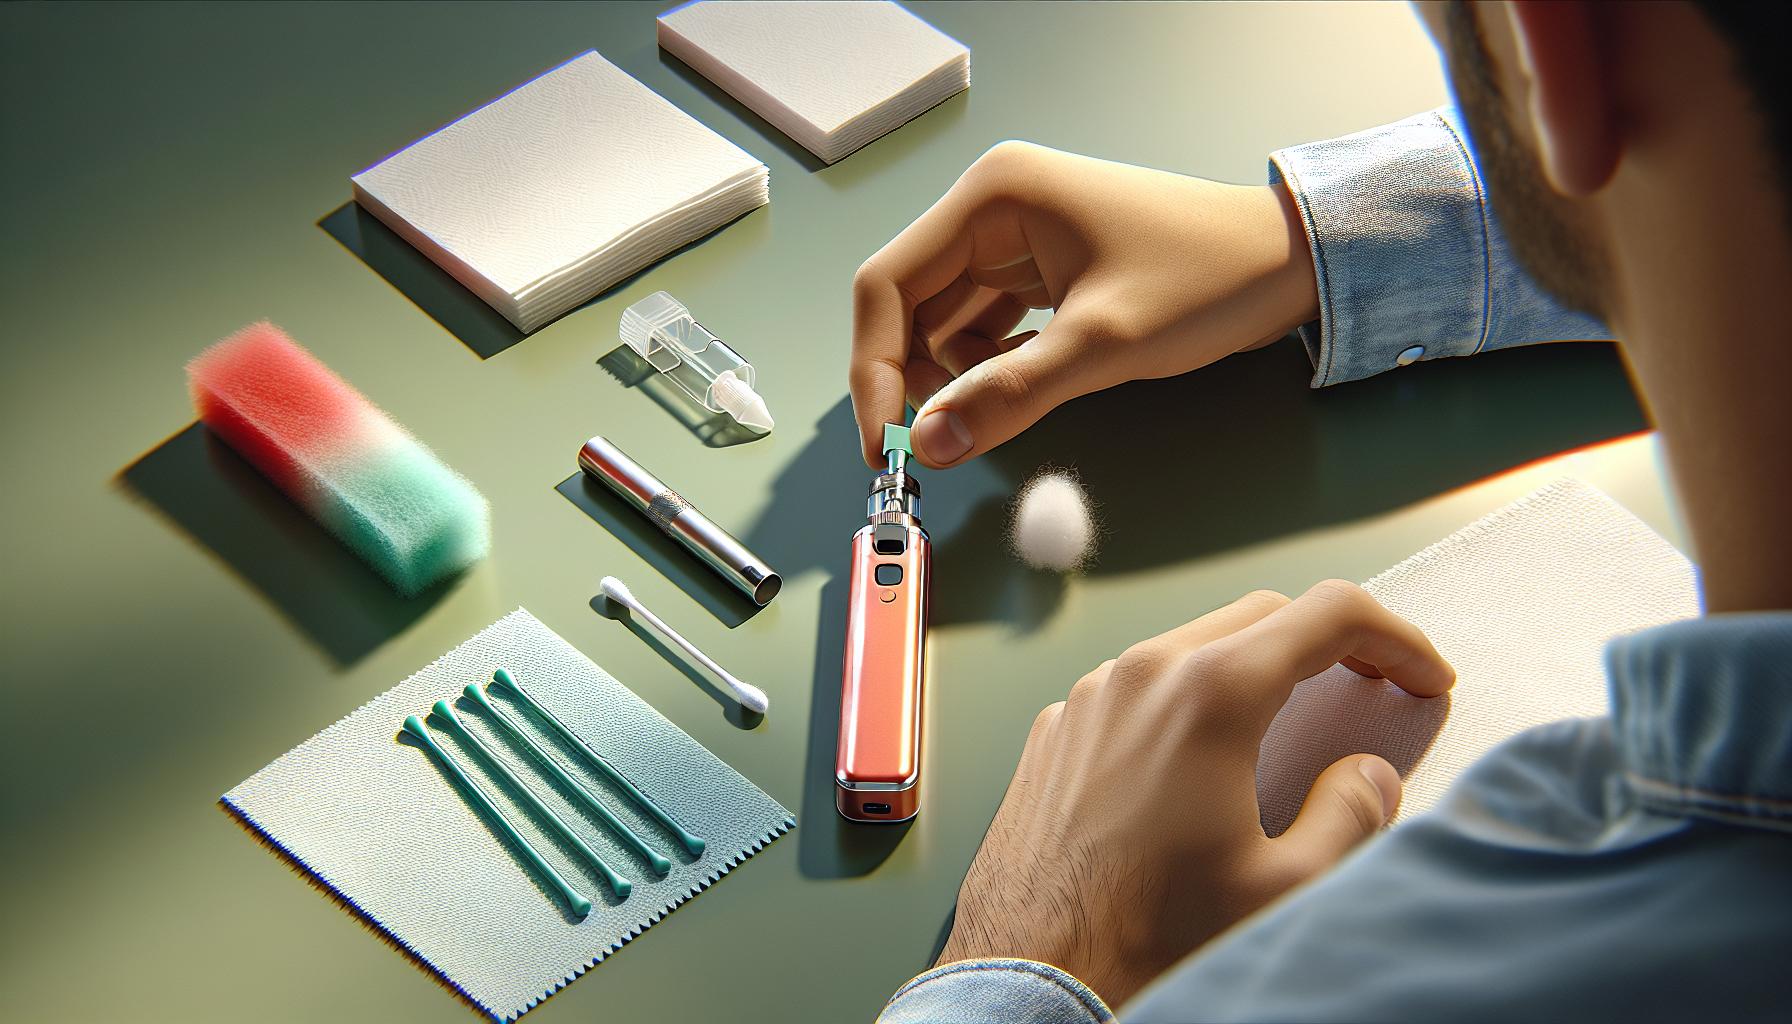
Refilling a Geek Vape device properly ensures optimal performance and a satisfying vaping experience. While the process might seem daunting at first many vapers quickly master this essential skill with the right guidance and practice.
Getting familiar with the refilling process not only saves money but also helps prevent common issues like leaking and flooding. Whether it’s a Geek Vape Aegis Boost GeekVape Z or any other model from their extensive lineup knowing the correct refilling technique is crucial for maintaining the device and enjoying consistent vapor production.
How to Refill Geek Vape
Refilling a Geek Vape requires specific tools and materials to ensure a clean, efficient process. A proper setup prevents spills and maintains the device’s performance.
Essential Tools and Materials
- E-liquid bottle with precision tip
- Clean microfiber cloth for spill cleanup
- Paper towels for wiping excess liquid
- Small funnel (for tanks without top-fill ports)
- Latex or nitrile gloves to prevent nicotine contact
- Fresh coil (if replacement is needed)
- Storage container for used components
- VG/PG ratio: 70/30 for sub-ohm tanks
- Nicotine strength: 3-6mg for direct lung hits
- Bottle size: 60ml or 100ml for cost efficiency
- Compatible e-liquid viscosity for specific coil types
- Storage temperature: 15-25°C (59-77°F)
- Manufacturing date: within 1 year
- Childproof caps for safety
| E-Liquid Type | Best For | Recommended Wattage |
|---|---|---|
| 50/50 VG/PG | MTL Tanks | 10-25W |
| 70/30 VG/PG | Sub-ohm | 40-80W |
| Max VG | Cloud Chase | 60-120W |
Preparing Your Geek Vape Device

Proper preparation of a Geek Vape device ensures a clean refill process and optimal flavor production. The following steps detail the essential preparation procedures for refilling any Geek Vape model.
Removing the Pod or Tank
The pod or tank removal process varies by Geek Vape model:
- Twist the pod counter-clockwise on Aegis models until it detaches
- Pull the magnetic pod straight up on GeekVape Z series devices
- Press the release button on Aegis Boost pods before lifting
- Remove any remaining e-liquid from the tank using a paper towel
- Check the airflow control ring position to prevent liquid leakage
- Wipe the connection points with a dry microfiber cloth
- Clean the fill port using a cotton swab dipped in isopropyl alcohol
- Remove residual e-liquid from the drip tip with a paper towel
- Inspect the rubber seals for damage or wear
- Allow all components to air dry for 5 minutes before reassembly
| Component | Cleaning Method | Drying Time |
|---|---|---|
| Fill Port | Isopropyl Alcohol | 2-3 minutes |
| Drip Tip | Paper Towel | 1-2 minutes |
| Connection Points | Microfiber Cloth | 1 minute |
| Tank/Pod Exterior | Microfiber Cloth | 2-3 minutes |
Step-by-Step Refill Process
The refill process for Geek Vape devices follows a systematic approach to prevent leaks and ensure optimal performance. Each step requires attention to detail and proper technique to maintain the device’s functionality.
Locating the Fill Port
Geek Vape devices feature a silicone-sealed fill port on the side or bottom of the pod or tank. For side-fill models like the Aegis Pod, the port sits behind a rubber plug that slides to the side. Bottom-fill tanks include a rotating base that reveals two fill holes marked with droplet icons.
Fill Port Locations by Model:
- Aegis Pod: Side-mounted port with black rubber seal
- GeekVape Z: Bottom-mounted dual ports under threaded base
- Aegis Boost: Top-mounted port beneath sliding cap
- L200: Bottom-mounted single port with childproof lock
Adding the E-Liquid
E-liquid insertion requires precise handling to avoid air bubbles and overflow:
- Insert the bottle tip at a 45-degree angle
- Squeeze the bottle with steady pressure
- Allow 3-5 seconds between squeezes for liquid settling
- Fill one port while leaving the second open for air displacement
- Stop filling when liquid reaches the indicated maximum line
Proper Fill Levels
Fill level indicators ensure optimal device performance:
| Device Model | Minimum Level | Maximum Level | Capacity |
|---|---|---|---|
| Aegis Pod | 0.3ml line | 3.5ml line | 4.0ml |
| GeekVape Z | 0.5ml line | 4.5ml line | 5.0ml |
| Aegis Boost | 0.2ml line | 2.0ml line | 2.5ml |
Fill markers appear as etched lines on the tank’s exterior. The optimal fill level sits between the maximum line and 2mm below it, leaving room for coil saturation and expansion during heating.
Common Refilling Mistakes to Avoid
Proper refilling techniques prevent damage to Geek Vape devices and ensure optimal performance. Understanding these common mistakes helps users maintain their devices effectively.
Preventing Leaks and Spills
E-liquid leaks occur from improper sealing during the refilling process. Here’s how to prevent common issues:
- Fill only to the designated max line, leaving space for coil expansion
- Secure all components tightly after refilling, including the fill port plug
- Position the device upright for 5 minutes after refilling to allow proper wicking
- Clean threads thoroughly before reassembly to ensure proper sealing
- Replace worn O-rings immediately when signs of damage appear
- Avoid overtightening components which can damage seals
- Store devices upright to prevent accidental leaking
- Keep e-liquids in cool dark places between 65-75°F
- Remove tanks from mods during extended storage periods
- Empty tanks before air travel to prevent pressure-related leaks
- Clean all components before storing longer than 7 days
- Use silicon caps on drip tips during transport
| Storage Temperature | Effects on E-liquid |
|---|---|
| Below 65°F | Increased viscosity, poor wicking |
| 65-75°F | Optimal performance range |
| Above 75°F | Decreased viscosity, potential leaking |
Maintenance Tips for Optimal Performance
Regular maintenance extends the lifespan of Geek Vape devices while ensuring consistent flavor production. Implementing these maintenance practices prevents common issues such as decreased vapor production reduced flavor intensity.
Regular Cleaning Schedule
A systematic cleaning approach maintains optimal Geek Vape performance:
- Rinse tanks weekly with warm water
- Clean connection points bi-weekly using isopropyl alcohol on cotton swabs
- Wipe exterior surfaces daily with a microfiber cloth
- Disassemble pods monthly for deep cleaning
- Soak removable components in propylene glycol for 30 minutes
- Dry all parts thoroughly before reassembly using compressed air
When to Replace Parts
Key components require replacement at specific intervals:
| Component | Replacement Interval | Signs of Wear |
|---|---|---|
| Coils | 1-2 weeks | Burnt taste dark color |
| O-rings | 3-4 months | Visible cracks tears |
| Drip tips | 6 months | Discoloration wear |
| Tanks | 12 months | Cloudiness cracks |
| Battery | 300-500 cycles | Reduced performance |
- Burnt hits despite proper priming
- Persistent leaking after maintenance
- Visible damage to any component
- Inconsistent power delivery
- Changes in airflow resistance
- Degraded threading on connections
- Loose-fitting components
Geek Vape Models
Refilling a Geek Vape device doesn’t need to be complicated. With the right tools proper technique and regular maintenance anyone can master this essential skill. Taking time to learn the specific requirements of different Geek Vape models will lead to better performance and a more enjoyable vaping experience.
Remember that proper care and attention during the refilling process helps prevent common issues while extending device longevity. By following the recommended guidelines for cleaning maintenance and e-liquid selection vapers can ensure their Geek Vape devices continue to deliver optimal flavor and vapor production for years to come.


