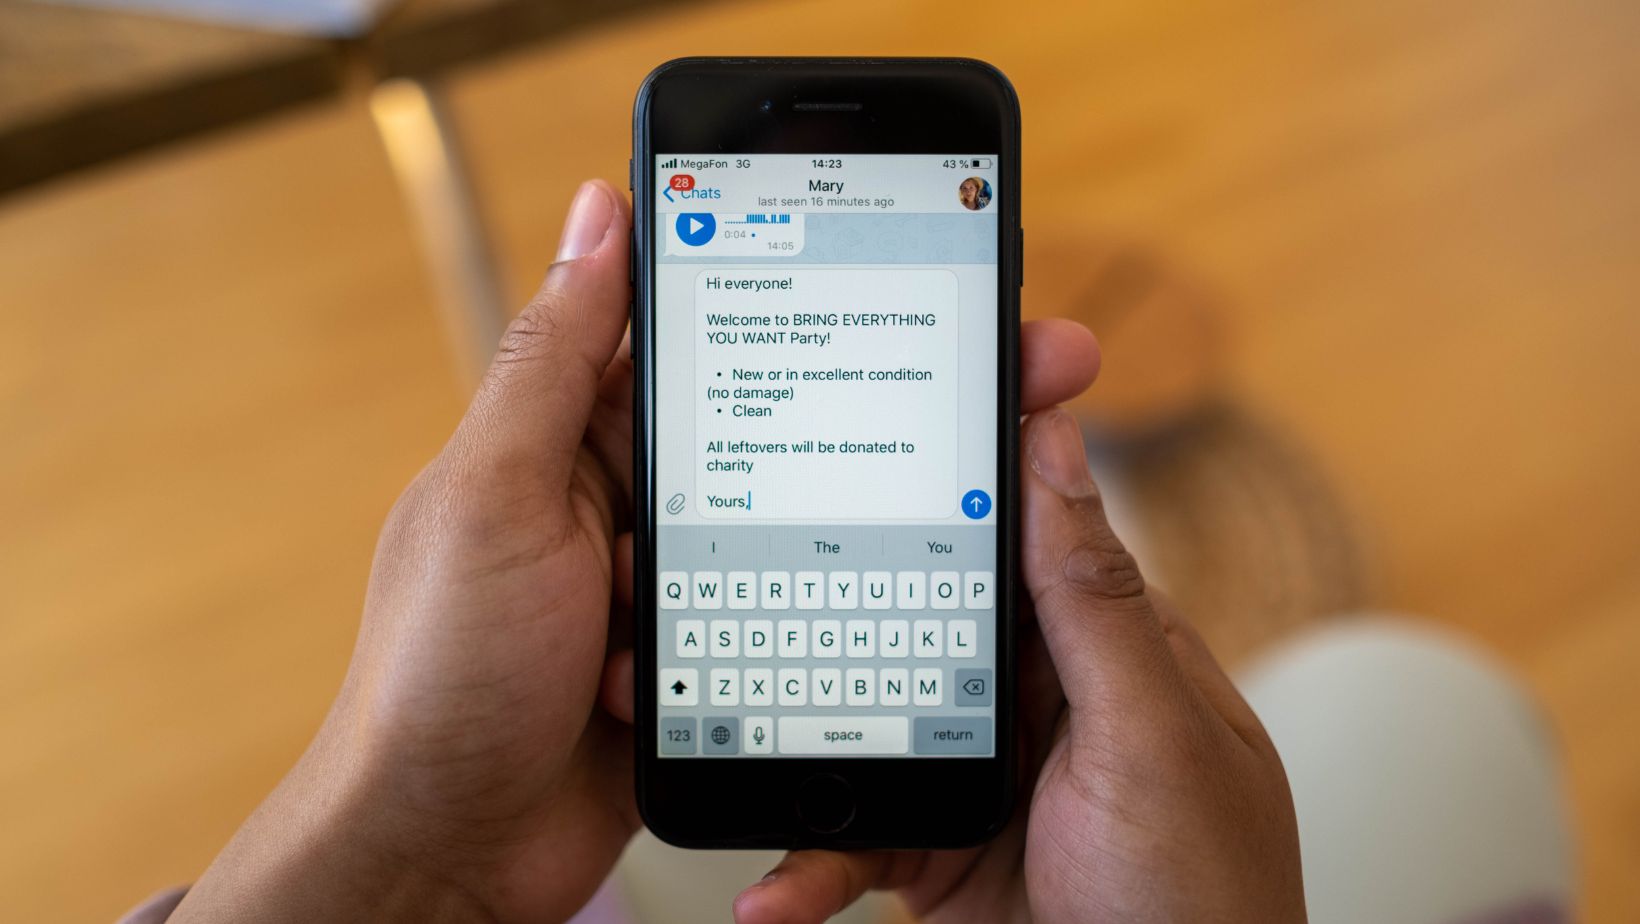
In today’s fast-paced world, we rely on our smartphones for almost everything, from communication to managing daily design tasks.
But did you know that you can even send a fax directly from your iPhone?
While faxing may seem outdated, many industries and businesses still rely on it for secure document sharing.
The good news is, you don’t need a bulky fax machine to send important documents any more—your iPhone can do the job!
In this guide, we’ll walk you through the steps on how to send a fax from your iPhone.
Whether you’re a small business owner, a student, or just need to send a fax quickly, this step-by-step guide has got you covered.
Why Use Your iPhone for Faxing?
While email and cloud-based document sharing have taken over most communication, faxing is still essential in sectors like healthcare, legal, and government services. However, fax machines aren’t always convenient to use, especially when you’re on the go.
That’s where your iPhone steps in. By turning your iPhone into a mobile fax machine, you save time and avoid the hassle of dealing with traditional fax hardware.
With mobile fax apps, sending a fax is as easy as sending an email. You simply take a photo or upload a document from your device and fax it to the recipient’s fax number—no paper, no ink, and no waiting in line at a print shop.
What You Need to Get Started?
Before jumping into the steps, let’s cover the basic tools you’ll need to send a fax from your iPhone.
1. A Fax App
To send a fax from your iPhone, you’ll need to download a faxing app from the App Store. There are several apps available with free trials or subscription-based services, such as:
- eFax
- FaxBurner
- iFax
- MyFax
These apps are user-friendly and allow you to send, receive, and manage your faxes easily.
2. Internet Connection
Most fax apps use an internet connection to transmit the fax. Ensure your iPhone is connected to Wi-Fi or mobile data before proceeding.
3. Document or Image to Fax
You can send various types of documents, including PDFs, Word files, and even images. You can also scan documents using your iPhone’s camera to create digital files.
How to Send a Fax from Your iPhone: Step-by-Step
Once you have your app and internet connection ready, sending a fax from your iPhone is simple. Follow the steps below:
Step 1: Choose a Fax App
First, choose and download the faxing app that best suits your needs. Each app may have different pricing structures, such as pay-per-fax, monthly subscriptions, or free limited faxes.
Most apps offer a free trial, so you can test the features before committing.
For this guide, we’ll use eFax as an example, but the process is similar across most fax apps.
Step 2: Install and Set Up the App
After downloading the app, open it and follow the setup instructions. You may need to create an account using your email address.
Some apps will ask for billing information upfront if you’re using a paid service, while others let you send a certain number of free faxes before requiring payment.
Step 3: Upload or Scan Your Document
Once you’ve set up the app to fax from iphone, it’s time to prepare your document. Most fax apps provide two options for uploading:
- Upload from Files: If the document is saved on your iPhone (in iCloud, Google Drive, or another storage service), select the file and upload it directly to the app.
- Scan a Document: Use your iPhone’s camera to take a picture of a physical document. The app will convert the image into a faxable format. Make sure the picture is clear and well-lit for the best results.
Step 4: Enter the Recipient’s Fax Number
Now that your document is ready, enter the fax number of the recipient. Double-check the number for accuracy to avoid sending it to the wrong person.
Most fax apps also allow you to add a cover sheet with notes or additional information.
Step 5: Send the Fax
After entering the recipient’s details and attaching the document, hit the Send button. The app will begin transmitting your fax. Depending on the size of the document and your internet connection, this may take a few minutes.
Step 6: Confirm the Fax Was Sent
After the fax is sent, most apps provide a delivery confirmation or receipt to verify that it reached the recipient.
Check your app’s inbox or sent folder for confirmation. If the fax fails, the app will notify you, and you can try sending it again.
Additional Features to Explore
Many fax apps offer extra features beyond just sending and receiving faxes. These can be useful if you frequently need to fax documents.
1. Cloud Integration
Some apps allow you to integrate with cloud storage platforms like Google Drive, Dropbox, or OneDrive, making it easy to access documents without having to upload them manually.
2. Sign and Edit Documents
Certain fax apps also include built-in tools for electronically signing and editing documents before sending them.
This is especially helpful for business contracts or legal documents.
3. Receive Faxes
If you often receive faxes, some apps provide you with a virtual fax number. This allows others to fax documents to your app, and you can view them as PDFs or images directly on your iPhone.
Finest Practices for Mobile Faxing
To ensure your fax is sent and received without any hiccups, follow these tips:
- Double-check the recipient’s fax number. Entering the wrong number can lead to sensitive documents being sent to the wrong person.
- Ensure your documents are clear. If you’re using your camera to scan a document, make sure it’s well-lit and positioned flat. Blurry or dark images might not transmit well.
- Track your sent faxes. Keep an eye on delivery confirmations, especially for important or time-sensitive faxes.
Conclusion
Sending a fax from your iPhone is an easy, hassle-free process with the right app. Whether you need to send a quick one-time fax or manage regular faxes for work, mobile faxing apps offer a convenient solution.
By following the steps outlined in this guide, you’ll be able to fax documents from anywhere using just your iPhone—no fax machine required!