Encountering a “No Atomizer” message on a Geek Vape device can be frustrating for even experienced vapers. This common error typically indicates a connection issue between the mod and the atomizer, preventing users from enjoying their vaping experience.
While this error message might seem alarming at first, it’s usually caused by simple issues that vapers can troubleshoot and fix at home. From loose connections to damaged components, several factors can trigger the “No Atomizer” warning on Geek Vape devices. Understanding these causes helps users maintain their devices properly and prevent future occurrences of this error.
Why Does My Geek Vape Say No Atomizer
The “No Atomizer” error message appears on Geek Vape devices when the mod fails to detect a properly connected atomizer. This error occurs in three specific scenarios:
- Connection Disruption
- Loose threading between mod and tank
- Poor contact with the 510 connection pin
- Debris blocking the connection points
- Component Malfunction
- Damaged coil structure
- Faulty 510 connection pin
- Short-circuited atomizer
- Software Recognition Issues
- Firmware glitches
- Mod’s resistance reading errors
- Incompatible atomizer resistance range
The error displays as either “No Atomizer” or “No Atomizer Found” on the device screen, accompanied by a disabled firing mechanism. This safety feature prevents the device from activating when it detects potential connection issues.
| Error Type | Display Duration | Safety Response |
|---|---|---|
| Initial Connection | Immediate | Firing Disabled |
| Mid-Use Detection | 2-3 Seconds | Auto Shutdown |
| Resistance Range | Continuous | Power Lockout |
The error message functions as a protective measure, preventing damage to both the device and its user. Modern Geek Vape devices incorporate advanced chipsets that monitor connections constantly, triggering this alert system when safety parameters fall outside acceptable ranges.
Common Causes of Atomizer Detection Issues

Atomizer detection problems in Geek Vape devices stem from three primary sources: connection issues, component damage, and contamination. Understanding these causes enables users to identify and resolve the “No Atomizer” error effectively.
Loose or Improper Connection
The 510 connection between the atomizer and mod creates poor contact when improperly threaded or loosely attached. Cross-threading damages the connection pins, while over-tightening compresses the center pin excessively. A proper connection requires the atomizer to sit flush with the mod’s 510 platform with 2-3 complete threading rotations.
Damaged Coils or Wiring
Burnt-out coils, frayed wires or broken leads interrupt the electrical circuit necessary for atomizer detection. Common indicators include:
- Blackened or discolored coil wraps
- Visible breaks in coil structure
- Loose connections at coil posts
- Damaged insulator rings
- Separated wire connections
Debris in the 510 Connection
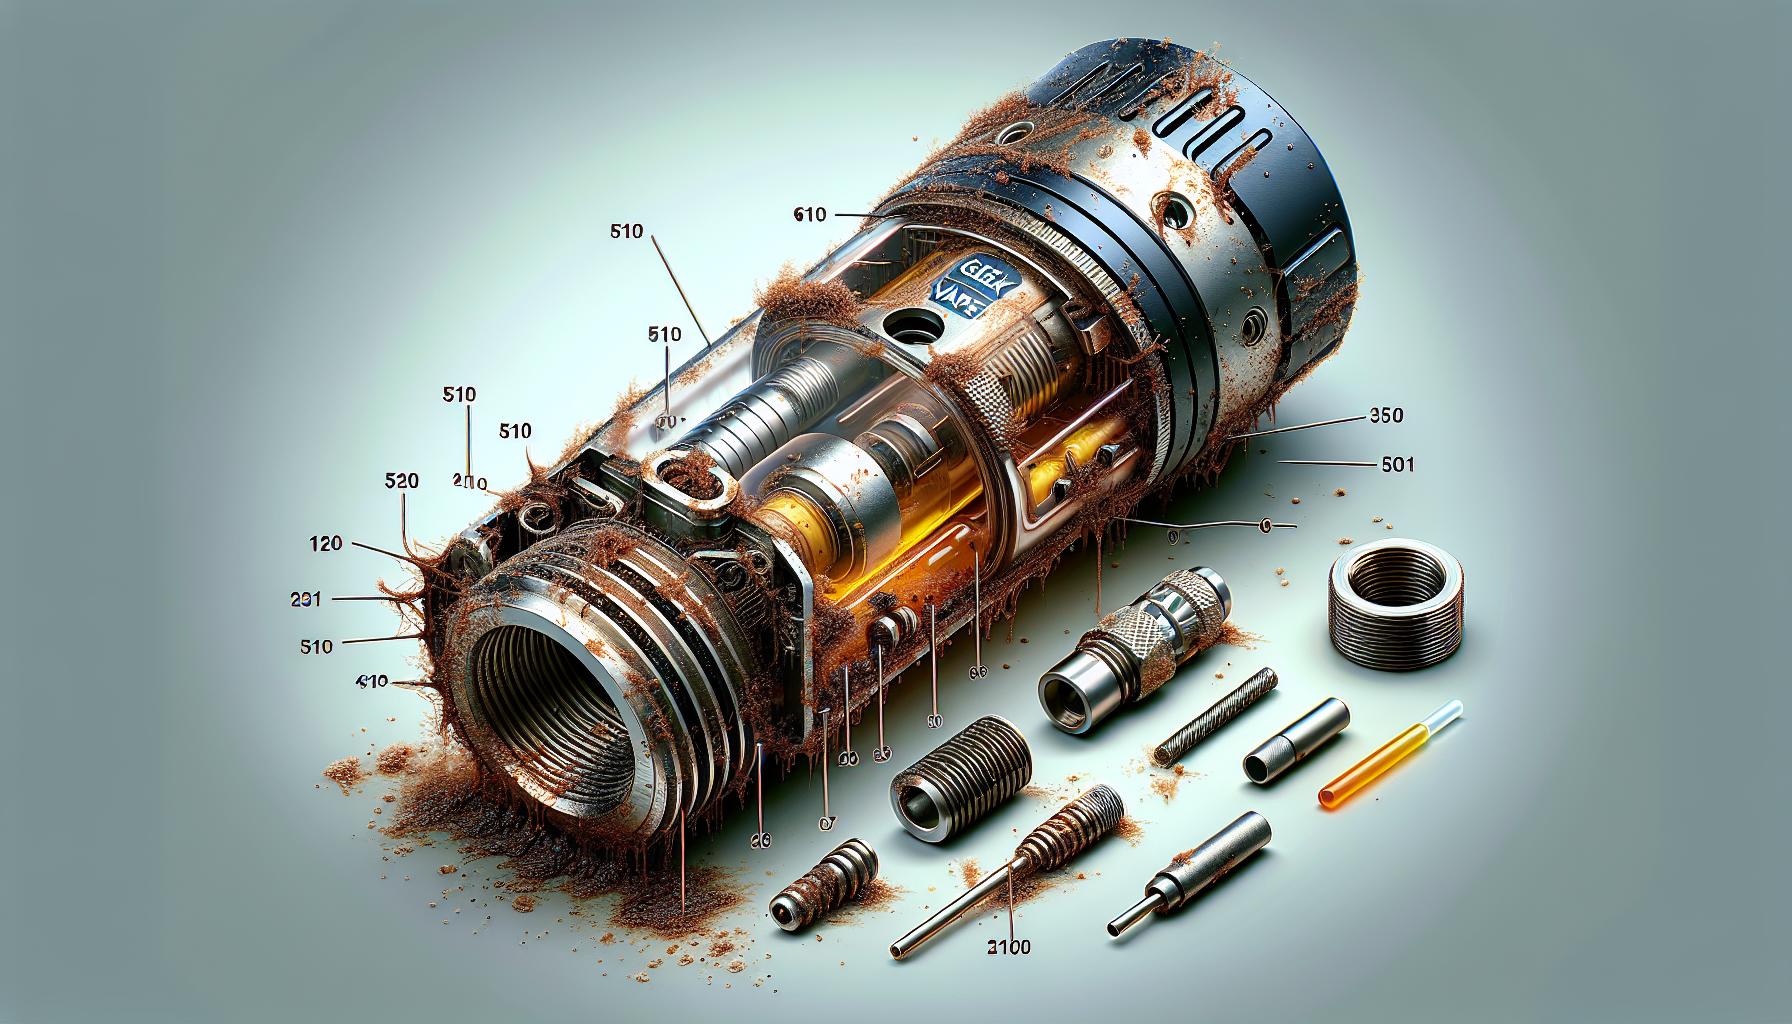
E-liquid residue, metal particles and dust accumulate in the 510 connection, creating interference between contact points. Key areas affected include:
- Center pin cavity
- Threading grooves
- Connection plate
- Spring-loaded mechanism
- Insulator rings
The presence of debris prevents proper electrical conductivity, leading to inconsistent atomizer detection or complete connection failure. Regular cleaning of these components maintains optimal connectivity between the atomizer and device.
How to Fix No Atomizer Problems
Resolving a “No Atomizer” error on a Geek Vape device involves systematic troubleshooting of key components. These fixes address common issues from connection problems to component damage.
Cleaning the Connections
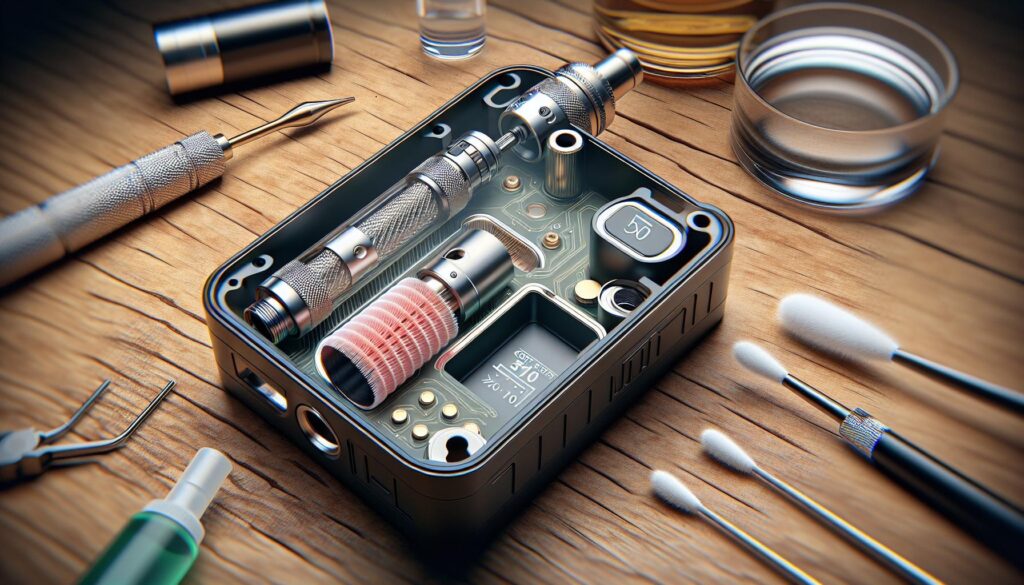
The 510 connection requires regular maintenance to ensure proper atomizer detection. Remove the tank from the mod base clean both contact points with a cotton swab dipped in isopropyl alcohol. Focus on:
- Scrubbing the threaded areas to remove e-liquid residue
- Cleaning the center pin with gentle pressure to avoid damage
- Drying all components thoroughly before reassembly
- Testing the connection after cleaning by reattaching the atomizer
Checking and Replacing the Coil
A malfunctioning coil creates connectivity issues that trigger the error message. Address coil-related problems through these steps:
- Unscrew the existing coil from the tank base
- Examine the coil legs for signs of burning or damage
- Verify the coil’s resistance matches device specifications
- Install a new coil with proper threading alignment
- Prime the new coil with 3-5 drops of e-liquid
- Check the 510 connection pin for proper spring action
- Examine tank threading for cross-threading or wear
- Look for bent or misaligned connection pins
- Inspect o-rings for tears or compression damage
- Test the tank on another compatible device to isolate the issue
When to Contact Geek Vape Support
Contact Geek Vape support when basic troubleshooting steps fail to resolve the “No Atomizer” error. Specific situations that require professional assistance include:
- Persistent Error Messages
- The error remains after trying multiple compatible atomizers
- The issue persists following a complete device cleaning
- Error messages appear randomly during normal operation
- Hardware Malfunctions
- Damaged 510 connection pin that won’t adjust
- Visible internal component damage
- Device shows signs of liquid damage
- LED screen displays multiple error codes
- Software Issues
- Firmware updates fail to complete
- Device freezes or becomes unresponsive
- Settings reset unexpectedly
- Screen displays incorrect information
Geek Vape support offers assistance through multiple channels:
| Contact Method | Response Time | Availability |
|---|---|---|
| Email Support | 24-48 hours | 24/7 |
| Live Chat | 5-15 minutes | Business Hours |
| Phone Support | 10-20 minutes | Business Hours |
Before contacting support, gather essential information:
- Device model number
- Purchase date
- Serial number
- Detailed description of the issue
- List of troubleshooting steps attempted
- Photos or videos demonstrating the problem
- Original receipt
- Order confirmation email
- Retailer invoice
- Online purchase record
Preventing Future No Atomizer Errors
Regular Maintenance Schedule
Implementing a consistent maintenance routine prevents No Atomizer errors. Clean the 510 connection weekly using isopropyl alcohol to remove e-liquid residue buildup. Replace coils every 2-3 weeks depending on usage patterns. Check o-rings monthly for signs of wear or deterioration.
Proper Installation Techniques
Following correct installation procedures ensures reliable atomizer connections:
- Align threads carefully before screwing components together
- Tighten connections firmly but avoid over-tightening
- Verify coil installation with proper threading
- Confirm o-rings sit correctly in designated grooves
- Test connection before filling with e-liquid
Best Practices for Device Care
Device care habits minimize connection issues:
- Store vaping devices upright to prevent e-liquid leakage
- Keep spare coils in original packaging
- Transport devices separately from keys or metal objects
- Avoid exposure to extreme temperatures
- Use compatible components specified for the device
- Examine coil resistance readings before installation
- Check 510 pin movement remains springy
- Verify tank threading remains intact
- Monitor battery contact points for corrosion
- Inspect insulator rings for damage
| Maintenance Task | Frequency | Purpose |
|---|---|---|
| 510 Connection Cleaning | Weekly | Prevent residue buildup |
| Coil Replacement | 2-3 weeks | Maintain performance |
| O-ring Inspection | Monthly | Ensure proper sealing |
| Thread Inspection | Bi-weekly | Verify connection integrity |
| Battery Contact Check | Monthly | Ensure power delivery |
Understanding and addressing the “No Atomizer” error on a Geek Vape device doesn’t have to be complicated. With proper maintenance cleaning techniques and regular component checks users can prevent most connection issues before they occur. The key lies in establishing good habits: keeping connections clean maintaining proper threading and replacing worn components when needed.
For persistent issues that won’t resolve through basic troubleshooting Geek Vape’s support team stands ready to help. By following the recommended maintenance schedule and handling the device with care vapers can enjoy a reliable and satisfying experience with their Geek Vape devices.


