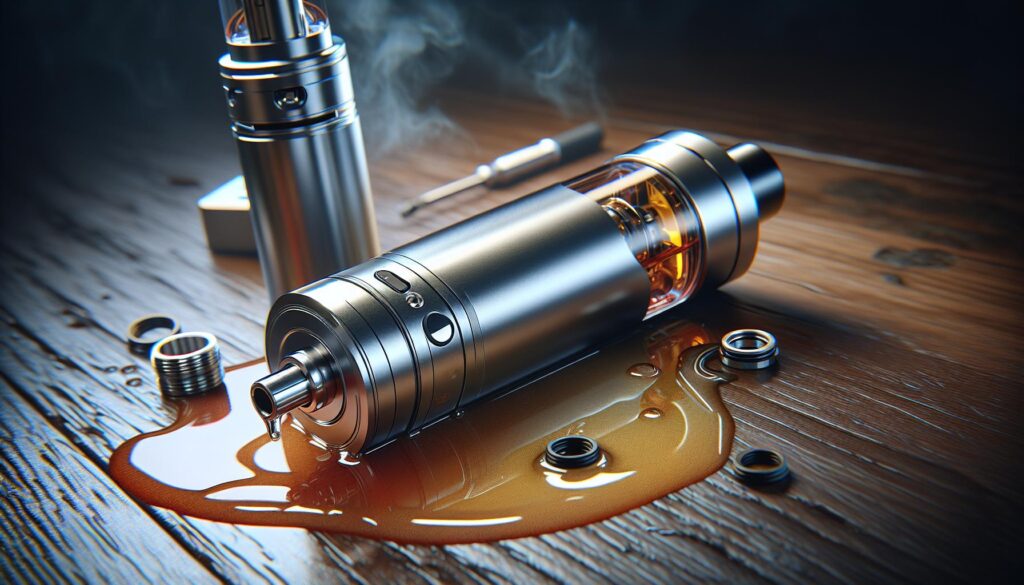
Dealing with a leaking Geek Vape can be one of the most frustrating experiences for vapers. Whether it’s a sticky mess in your pocket or e-liquid seeping onto your hands, these issues can quickly turn an enjoyable vaping session into a headache. Understanding why these leaks occur is the first step toward solving this common problem.
Several factors can contribute to a Geek Vape device leaking, from improper assembly to damaged components. While these devices are known for their reliability, even minor mistakes in maintenance or usage can lead to unexpected leaks. The good news is that most leaking issues are easily fixable once vapers identify the root cause.
Why Is My Geek Vape Leaking
Several specific factors contribute to leaking issues in Geek Vape devices. Identifying these common causes helps pinpoint the source of the problem and implement effective solutions.
Overfilling the Tank
E-liquid overflow occurs when users fill the tank beyond its maximum capacity line. Excess liquid creates pressure inside the tank, forcing e-juice through the airflow holes or coil chamber. A properly filled tank maintains a 20% air gap at the top, allowing proper vacuum formation during use.
Incorrect Assembly
Improper component alignment leads to gaps where e-liquid escapes. Critical assembly points include:
- Misaligned coil threading when screwing into the base
- Loose connection between the tank and mod
- Improperly seated glass section
- Crossed threads on the top cap
- Cracked or brittle O-rings from prolonged e-liquid exposure
- Missing seals after cleaning or maintenance
- Deformed O-rings from improper installation
- Worn-out seals from repeated tank disassembly
| Component | Recommended Replacement Schedule |
|---|---|
| Tank O-rings | Every 2-3 months |
| Top Cap Seal | Every 4-6 months |
| Base O-rings | Every 3-4 months |
Improper Coil Installation Problems

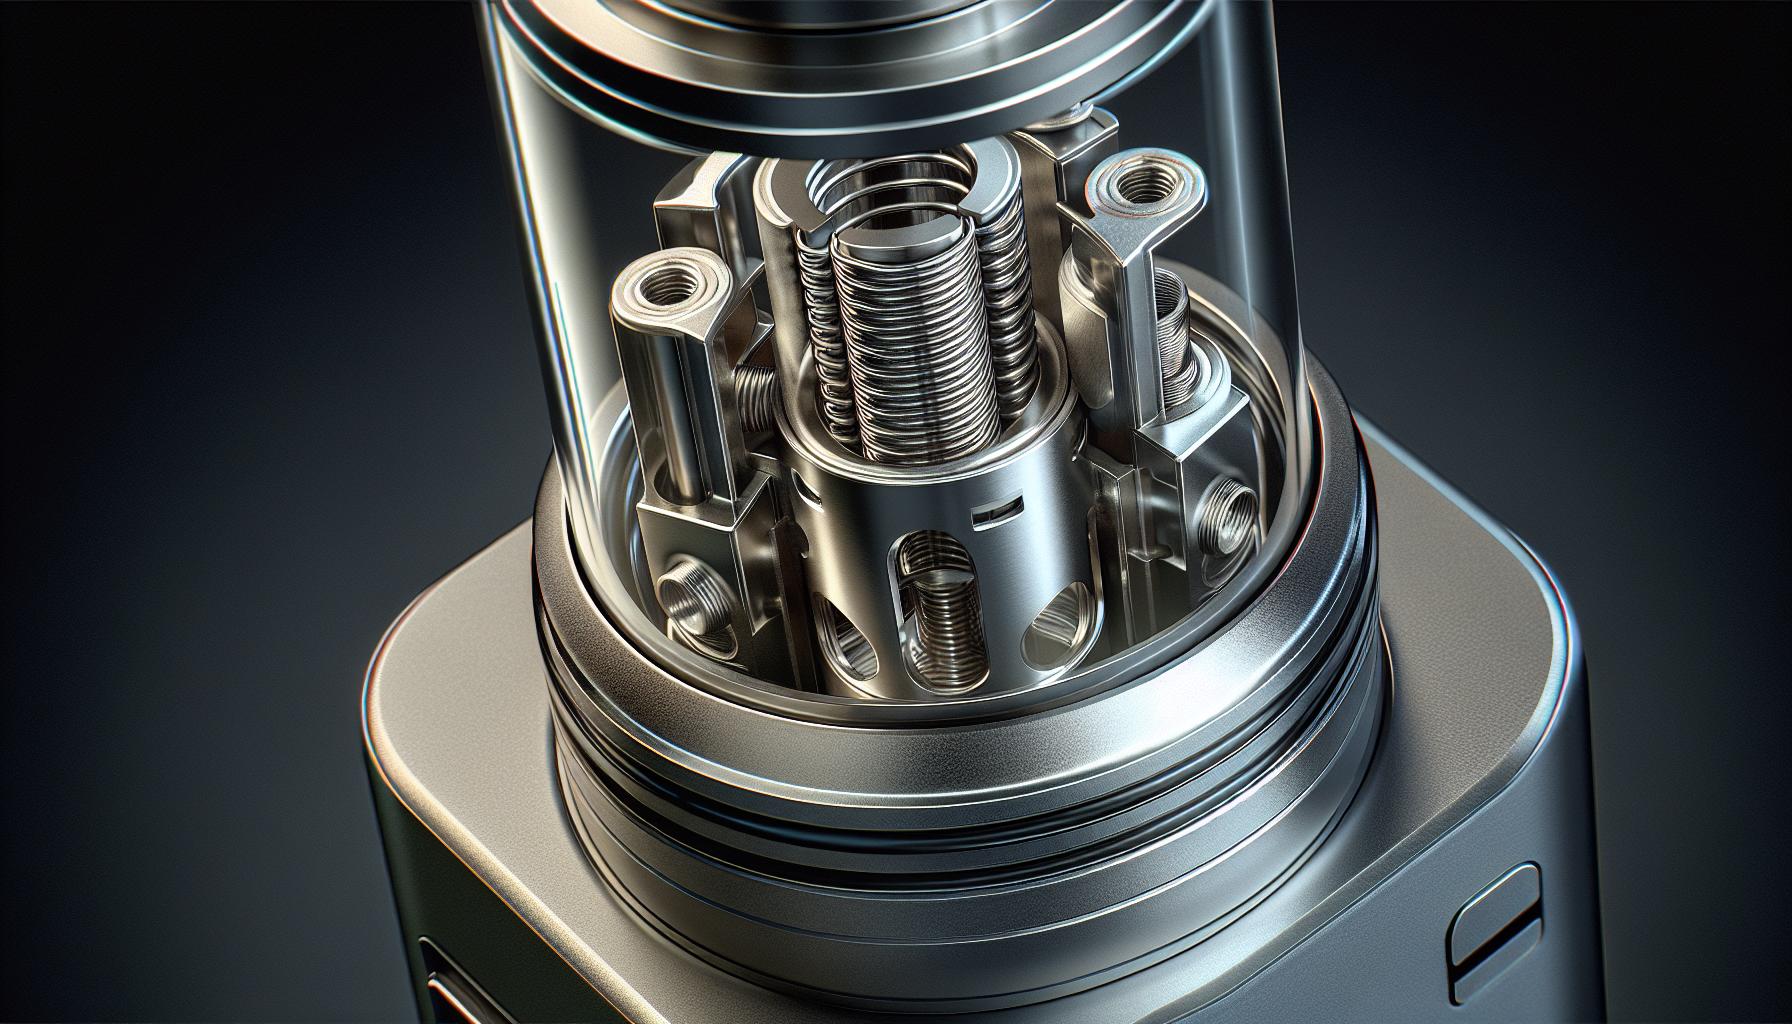
Coil installation issues rank among the primary causes of leaking in Geek Vape devices. Incorrect coil placement creates gaps that allow e-liquid to escape through unintended paths.
Loose Coil Connection
A loose coil connection compromises the seal between the coil and tank base. Signs of a loose connection include:
- Gurgling sounds during inhalation
- E-liquid pooling in the airflow channels
- Decreased vapor production
- Visible gaps between the coil and base connection points
To establish a proper connection, the coil threads require 3-4 complete rotations until snug. Over-tightening damages the threads while under-tightening creates leak points.
Burnt or Damaged Coils
Burnt coils deteriorate the internal structure creating pathways for e-liquid leakage. Common indicators of coil damage include:
- Dark or blackened cotton wicking material
- Metallic or burnt taste while vaping
- Inconsistent vapor production
- Visible cracks or deformation in the coil structure
| Factor | Impact on Coil Life |
|---|---|
| High VG E-liquid | 5-7 days |
| Sweet Flavors | 3-5 days |
| Chain Vaping | 4-6 days |
| Regular Use | 7-14 days |
Tank and Airflow Issues
Tank integrity and proper airflow settings directly affect the performance of Geek Vape devices. These components require regular inspection and correct adjustment to prevent leaking.
Cracked Tank
Hairline cracks in vape tanks create escape routes for e-liquid. Common causes of tank damage include:
- Dropping the device on hard surfaces
- Overtightening components during assembly
- Temperature fluctuations causing glass expansion
- Chemical reactions between certain e-liquids and tank materials
Signs of tank damage include:
- Visible cracks or chips in the glass
- E-liquid residue on device exterior
- Decreased tank capacity
- Unusual whistling sounds during use
Wrong Airflow Settings
Incorrect airflow adjustments create pressure imbalances that force e-liquid through the coil system. Optimal settings vary based on:
| Vaping Style | Recommended Airflow Setting | Effect on Leaking |
|---|---|---|
| MTL (Mouth to Lung) | 25-50% open | Minimal leaking risk |
| DTL (Direct to Lung) | 50-100% open | Moderate leaking risk |
| Cloud Chasing | Fully open | High leaking risk |
- Close airflow when filling the tank
- Adjust airflow gradually while vaping
- Match airflow to coil resistance
- Keep airflow holes clean from debris
Storage and Maintenance Mistakes
Improper storage and maintenance practices contribute significantly to Geek Vape leaking issues. These preventable mistakes often lead to compromised device performance and unwanted e-liquid seepage.
Poor Storage Position
Storing a Geek Vape device horizontally or upside down creates direct pressure on the tank’s seals. E-liquid pools against these seals for extended periods, forcing liquid through tiny gaps into the airflow system. The optimal storage position is upright at 90 degrees, with the tank positioned vertically. Empty tanks before long-term storage periods exceeding 24 hours to prevent pressure buildup on internal components.
Irregular Cleaning
Accumulated e-liquid residue and debris compromise the effectiveness of tank seals and connections. A regular cleaning schedule removes:
- Crystallized e-liquid deposits around threading points
- Carbon buildup on coil connections
- Debris in airflow channels
- Residue on tank glass surfaces
- Gunk between O-ring seals
| Cleaning Component | Frequency | Method |
|---|---|---|
| Tank Components | Every 7 days | Warm water rinse |
| Coil Connections | Every coil change | Dry cloth wipe |
| Airflow System | Every 3-4 days | Cotton swab cleaning |
| O-rings | Monthly | Gentle soap wash |
Regular cleaning maintains optimal seal integrity, preventing common leak points from developing. A thorough cleaning session takes 10 minutes, with components requiring 4 hours of drying time before reassembly.
How to Fix a Leaking Geek Vape
Fixing a leaking Geek Vape requires a systematic approach to identify and address the source of the leak. The following methods help resolve common leaking issues in Geek Vape devices.
Basic Troubleshooting Steps
- Disassemble the device
- Remove the tank from the mod
- Separate the tank components
- Place parts on a clean surface
- Check components
- Inspect O-rings for damage
- Verify coil installation
- Examine threading for debris
- Clean thoroughly
- Wipe components with a microfiber cloth
- Remove e-liquid residue
- Clean threading with cotton swabs
- Reassemble properly
- Align threads carefully
- Tighten components snugly
- Fill tank to proper level (80% capacity)
| Component | Replacement Interval | Signs of Wear |
|---|---|---|
| O-rings | Every 3-4 months | Warping, brittleness |
| Coils | 1-2 weeks | Dark color, burnt taste |
| Tank | 6-12 months | Cracks, cloudiness |
| Drip tip | 3-6 months | Loose fit, scratches |
Critical replacement indicators:
- Persistent leaks after cleaning
- Visible damage to components
- Decreased vapor production
- Unusual taste or performance
- Failed vacuum test
- Cracked tanks
- Stripped threading
- Damaged airflow control
- Deteriorated seals
- Worn-out coil connections
A leaking Geek Vape is a fixable problem that shouldn’t discourage vapers from enjoying their device. Through proper maintenance regular cleaning and correct assembly users can prevent most leaking issues before they start. Understanding the common causes – from worn O-rings to incorrect coil installation – empowers vapers to quickly identify and resolve issues.
Remember that prevention is better than cure. By following proper storage practices maintaining optimal airflow settings and replacing components at recommended intervals users can ensure their Geek Vape performs reliably. If leaks do occur a systematic approach to troubleshooting will help restore the device to proper working condition.


