Animated explainer videos help students learn better. They make lessons more engaging and easy to understand. Complex ideas become simple when shown with animation. Instead of long texts or boring lectures, students can see ideas in action.
Teachers can use these videos to explain topics in a clear and fun way. Visual learning helps students remember things better. When lessons are interesting, students pay more attention.
To make these videos, you need the right video editing software. CapCut PC is a great tool for this. It has animations, transitions, and effects to improve videos. Teachers can create lessons that are both educational and exciting.
This article will explain why animated videos help students. It will also show how to use CapCut PC to create them. You will learn the steps to make a great explainer video. Let’s get started!
Benefits of Animated Explainer Videos for Students
Makes Learning More Engaging and Fun
Students enjoy learning when lessons are interesting. Animated videos grab their attention better than plain text or slides. Moving visuals and colourful graphics make lessons exciting. When students enjoy what they see, they stay focused.
Stories help students remember ideas. A well-made animation can turn a boring topic into an exciting story. This makes learning fun and helps students recall information later.
Adding captions makes videos even better. An auto-captions generator can add subtitles automatically. This helps students follow along, even if they miss something. It also makes videos useful for students who prefer reading while watching.
Simplifies Complex Topics
Some subjects are difficult to understand. Students may struggle with science, math, or history. Animated videos make these topics easier by breaking big ideas into small, simple parts.
For example, think about the solar system. It is easier to learn when students see the planets moving around the sun. A well-made animation can show this in seconds.
Adding voice to videos makes them even better. A text-to-speech tool can read the script out loud. This helps students who learn better by listening. It also saves teachers time since they don’t have to record their voices.
Encourages Active Participation
Learning works best when students take part. Animated videos can include questions, pauses, and visual prompts. These make students think.
For example, a video about history can ask, “What do you think happened next?” before showing the answer. This makes students curious and engaged.
Self-paced learning is another advantage. Students can pause, rewind, or watch again. This helps them understand the lesson at their own speed.
Good video editing software helps teachers create such content. They can add quizzes, animations, and voiceovers to make lessons more interactive, keep students focused and eager to learn.
Using CapCut PC for Creating Animated Explainer Videos
Why Choose CapCut Desktop Video Editor for Animated Explainer Videos?
CapCut is a desktop video editing software that helps create animated explainer videos. It has tools that make videos look smooth and professional. Teachers can use it to create engaging lessons without needing advanced skills.
CapCut PC offers many free features, but some advanced tools require payment. It allows users to add animations, effects, and voiceovers easily. With the right features, educators can create videos that capture students’ attention and simplify learning.
Whether you are new to editing or have experience, CapCut PC makes the process simple. It is an excellent tool for making lessons more visual and interactive.
Key Features of CapCut for Animation
Pre-built animation effects: CapCut PC has built-in animations that bring videos to life. Users can add smooth motion effects to objects, text, and images, helping keep students focused on key ideas.
Text-to-speech tool: This tool converts text into voice. Teachers can add narration without recording their voices. It saves time and makes videos sound professional.
Customisable templates: CapCut provides ready-made templates. These help teachers create videos quickly. They can choose a template, add content, and edit as needed.
Green screen and layering effects: Users can change backgrounds with the green screen feature. This helps create a more immersive experience. Layering effects allow different elements to move separately, making videos more dynamic.
AI caption generator: This tool adds subtitles to videos automatically. Captions make videos easier to understand. They also help students who prefer reading alone or have hearing difficulties.
These features make CapCut PC a great choice for creating animated explainer videos that are engaging and easy to follow.
Steps to Create an Animated Explainer Video Using CapCut PC
Step 1: Download and Install CapCut PC
Go to the official CapCut website and download the software.
Follow the installation steps and sign up for an account. The basic features are free, but some advanced tools require a paid plan. Once installed, open the software and explore the interface to get familiar with its features.
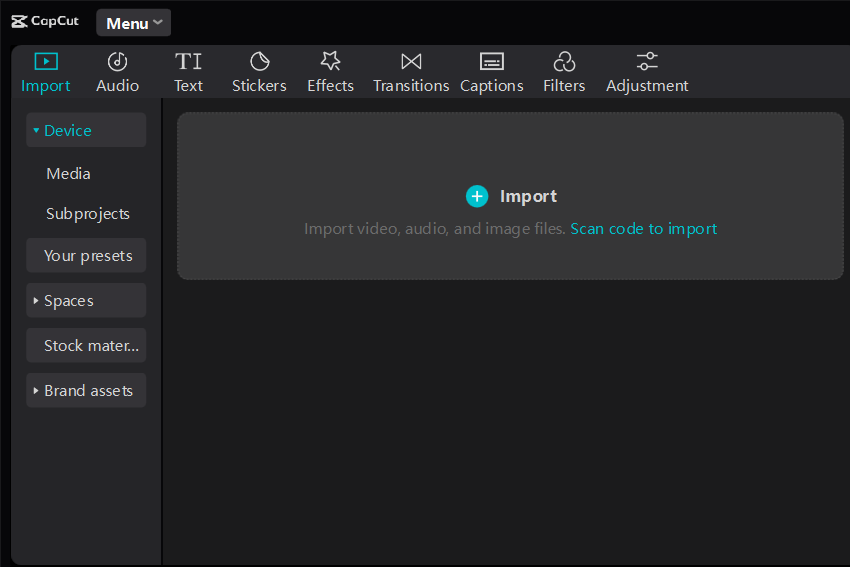
Step 2: Import Media and Assets
Click on “Import” to add images, icons, and text that you want to use in your video. You can also upload your videos or choose from CapCut’s stock elements. Organize these assets in the timeline so they appear in the right order for your animated explainer video.
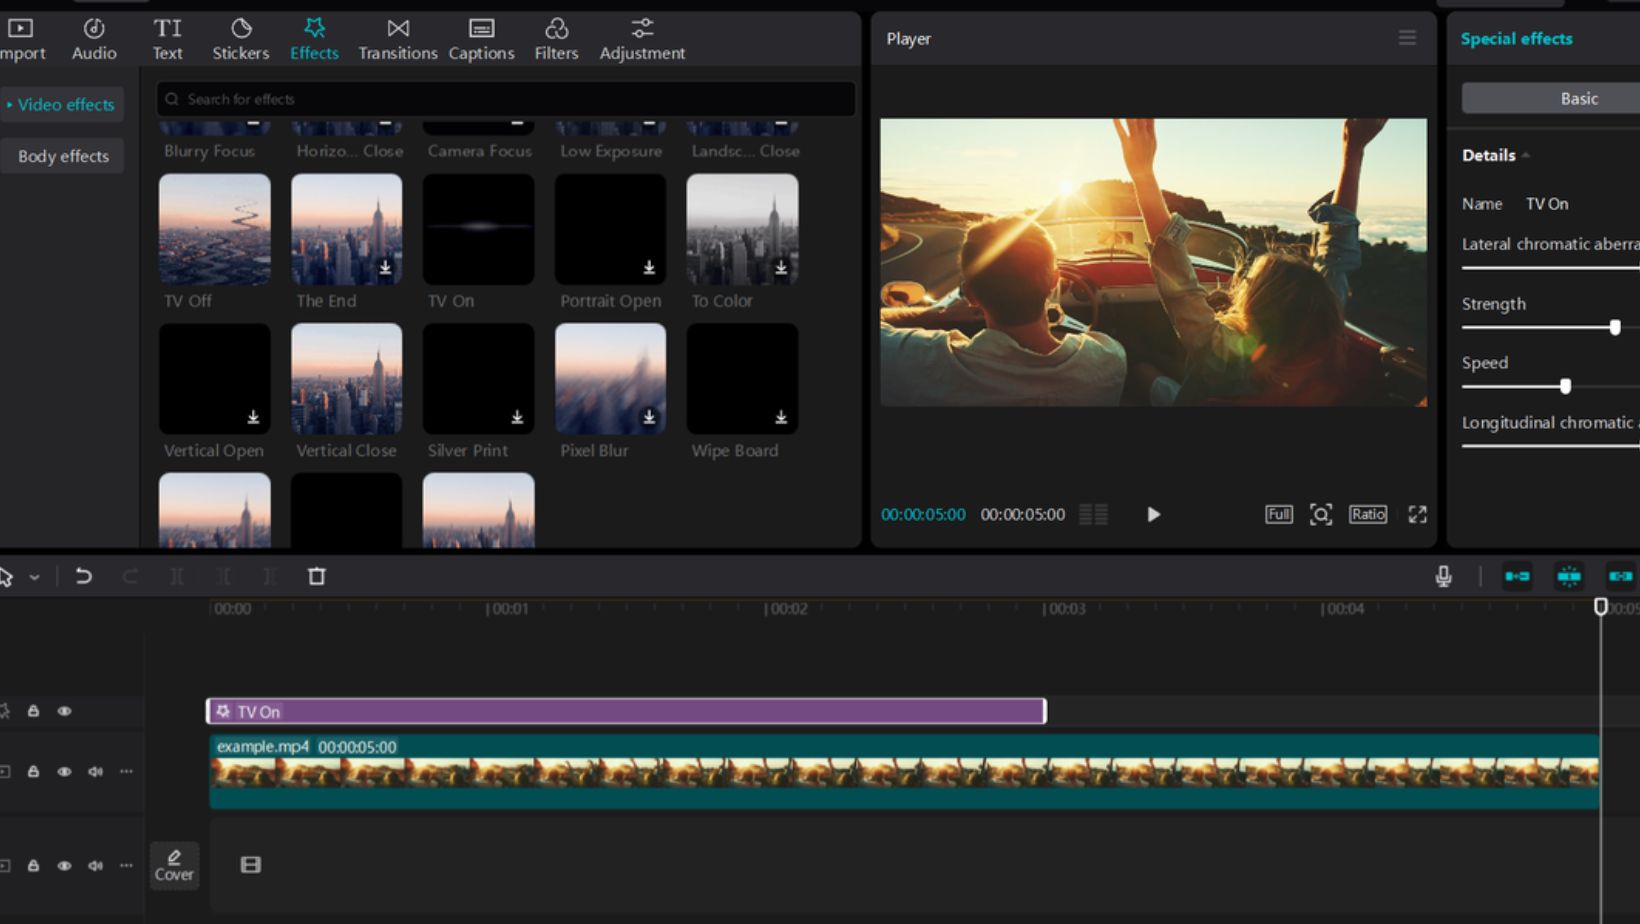
Step 3: Add Animations and Effects
Use keyframe animation to move objects smoothly across the screen. Add transitions between clips to make the video flow better. Apply animated text and infographics to highlight key points. If you need subtitles, use the auto-caption generator to create them automatically. This makes your video easier to understand, especially for students who prefer reading along. Adjust the speed, colour, and effects to enhance the visuals. Keep the animations simple so they don’t distract from the lesson. Test different styles and see what works best for your content.
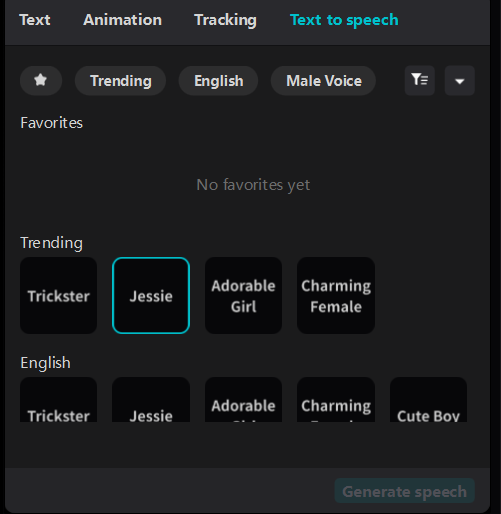
Step 4: Include Voiceovers and Background Music
Use text-to-speech to generate clear and natural-sounding narration without recording your voice. This helps save time and ensures a professional touch.
Add background music or sound effects to keep students engaged. Make sure the audio matches the tone of your video and doesn’t overpower the main content.
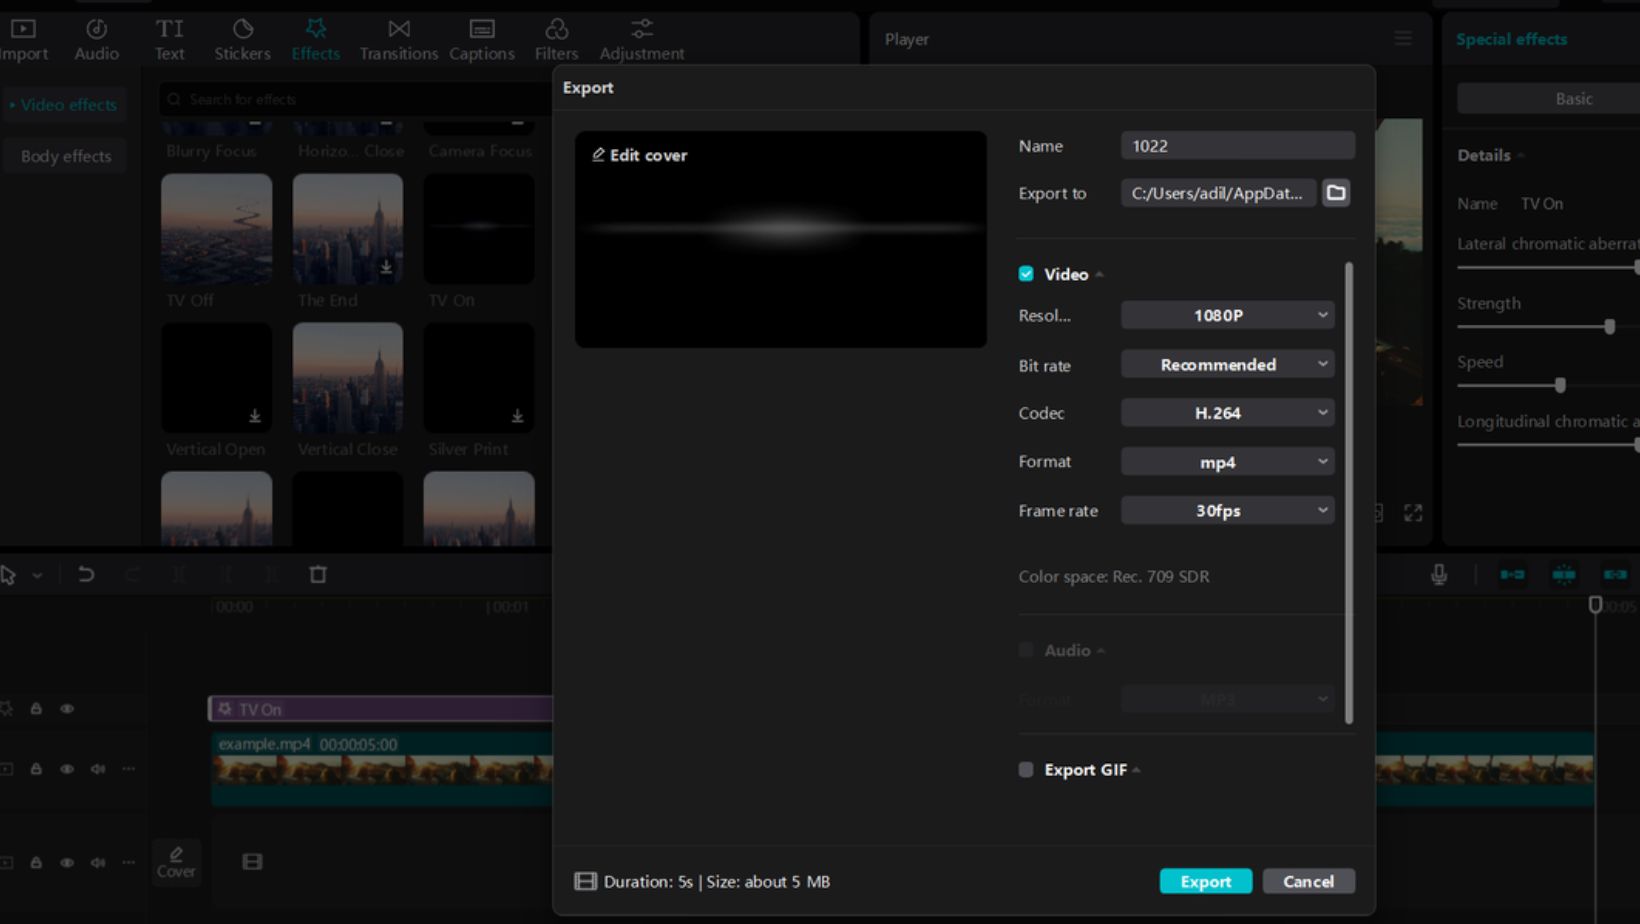
Step 5: Export and Share the Video
Once you’re happy with the final video, click “Export.” Choose the best resolution and format for your needs. Share your animated explainer video on YouTube, learning platforms, or school portals. This way, students can watch and learn at their own pace, anytime and anywhere.
Conclusion
Animated explainer videos help students learn better. They make lessons fun and easy to understand. Complex ideas become simple with visuals. Students stay focused and remember more.
Teachers can use desktop editing software to create these videos. Animation makes lessons clear and interactive. With the right tools, teachers can save time and effort.
CapCut PC is a great choice for making these videos. It has useful features, but some require payment. It offers animations and effects, which help create voiceovers quickly.
Try making an animated explainer video for your next lesson. Use these tools to make learning easier and more exciting. Your students will enjoy the lesson and understand the topic better.