Genie remote programming guides help users set remotes to garage door openers. They explain steps, tools, and troubleshooting. This article shows clear steps for genie remote programming and common fixes.
Key Takeaways
- Before starting genie remote programming, confirm your opener model and whether the remote is rolling-code or fixed-code to ensure compatibility.
- Use the opener’s learn button for most programming: press learn, then press the remote button within 30 seconds and test the door from several feet away.
- For fixed-code remotes set DIP switches to match the opener exactly, and for multi-button remotes or keypads choose the target button or PIN before using the learn sequence.
- If pairing fails, replace weak batteries, check antenna placement and nearby interference, and retry the learn sequence with the remote close to the motor head.
- Replace or upgrade a remote when response is inconsistent, housing is damaged, or the opener no longer accepts the remote’s code type, and choose a replacement that explicitly lists compatibility with your opener.
What You Need Before You Begin
Compatible Genie Models And Remote Types
Genie sells several opener models. The user checks the opener label to find the model number. The user matches the remote type to the opener: rolling-code remotes pair with newer openers and fixed-code remotes pair with older units. The user confirms whether the remote is single-button, multi-button, or a keypad. The user verifies compatibility before starting genie remote programming to avoid wasted steps.
Required Tools, Safety Precautions, And Prep Steps
The user gathers a ladder, screwdriver, and fresh batteries. The user wears safety glasses and keeps bystanders clear. The user disconnects the opener from the power source when inspecting wiring. The user places the ladder on stable ground. The user tests the remote battery before any programming. The user writes down the opener model and any current remote codes. If the user works on an overhead door or needs system-specific guidance, they can reference a detailed guide on overhead door remote programming for related steps and safety notes.
Step-By-Step Programming Methods
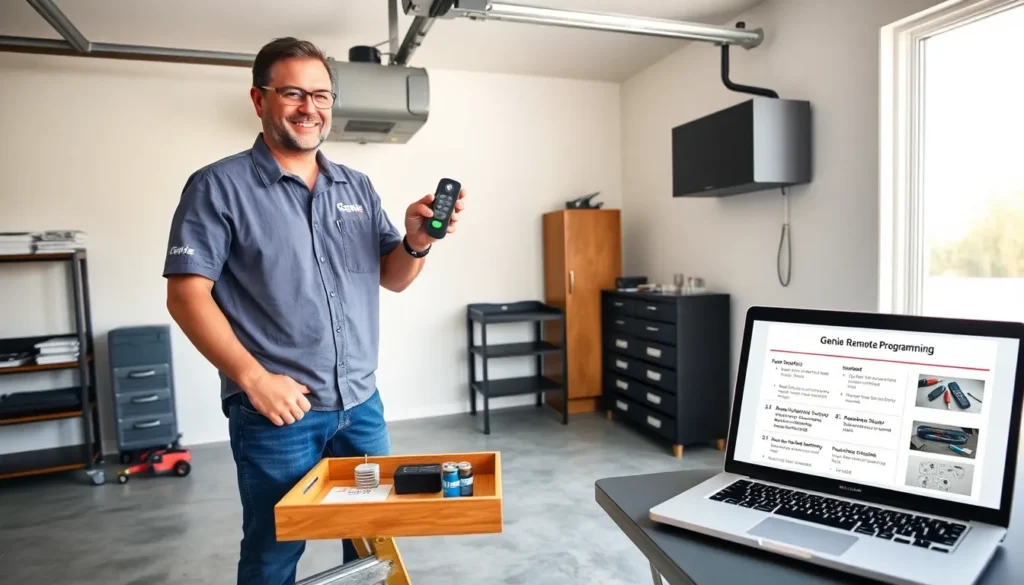
Programming Using The Opener’s Learn Button
The user plugs the opener back in and stands by the unit. The user locates the learn button on the motor head. The user presses the learn button for one second: an indicator light then activates. The user presses the remote button within 30 seconds. The opener confirms by flashing or by movement. The user repeats the sequence for additional remotes. The user records the success and tests the door from several feet away. This method suits most models when doing genie remote programming.
Programming Rolling-Code And Fixed-Code Remotes
The user checks the remote type. For fixed-code remotes, the user opens the remote case and aligns the DIP switches with the opener’s switches. The user sets each switch to match exactly. The user presses the opener learn button and then pushes the remote button. For rolling-code remotes, the user uses the learn-button method or a specific sequence in the manual. The user avoids mixing code types. The user tests each programmed remote after pairing to confirm correct operation and safety sensors.
Adding Multi-Button Remotes And Keypads
The user decides which button will control the door. The user clears the button memory if the remote lists previous codes. The user uses the learn button on the opener and then presses the target button on the remote. For keypads, the user enters a PIN and then uses the learn sequence on the motor head. The user verifies the keypad opens the door using the PIN and verifies that the remote controls only the intended opener. The user repeats the process for extra buttons when adding garage or gate functions. If the user needs a different installer reference, they can consult a related how-to guide on overhead door remote programming that covers multi-device setups.
Common Problems And Quick Fixes
Remote Not Responding Or Failing To Pair
The user tests the remote battery first. The user replaces weak batteries and then retries the pairing steps. The user confirms the remote matches the opener type. The user resets the opener memory if many old remotes exist. The user performs the learn-button sequence again, pressing the remote closer to the motor head. The user ensures the door manual release is engaged and that the opener light blinks during the learn process.
Interference, Range Issues, And Signal Troubleshooting
The user checks for nearby devices that may interfere. The user moves wireless routers, cordless phones, or metal objects away from the opener. The user tests the remote from different distances and angles to find a reliable range. The user temporarily turns off other radio devices and then tries pairing again. The user also confirms the antenna on the opener hangs down and faces the area where the remote signals originate.
Battery, Wiring, And Power Supply Checks
The user inspects the battery contacts for corrosion. The user cleans contacts with a small brush and a bit of isopropyl alcohol. The user tests the house circuit and confirms the opener gets steady power. The user checks the wiring at the motor head and at the wall control for loose connections. The user replaces damaged wires and tightens terminal screws. The user confirms the wall button works before starting more programming steps.
When To Replace Or Upgrade Your Remote
Signs It’s Time For A Replacement Remote
The user notes slow or inconsistent response. The user sees physical wear or cracked housing. The user finds repeated pairing failures after battery and wiring checks. The user logs frequent interference or short signal range that battery replacement does not fix. The user replaces the remote when the opener no longer accepts its code type or when the remote lacks features that newer openers require.
Choosing A Compatible Replacement Or Universal Remote
The user reviews the opener model and code type first. The user picks a replacement that lists compatibility with the opener model number and with the code type. The user chooses a universal remote only if it clearly supports the opener brand and code system. The user buys remotes from reputable vendors and keeps the purchase receipt and model information. The user reads the included instructions and then follows the genie remote programming steps shown earlier.