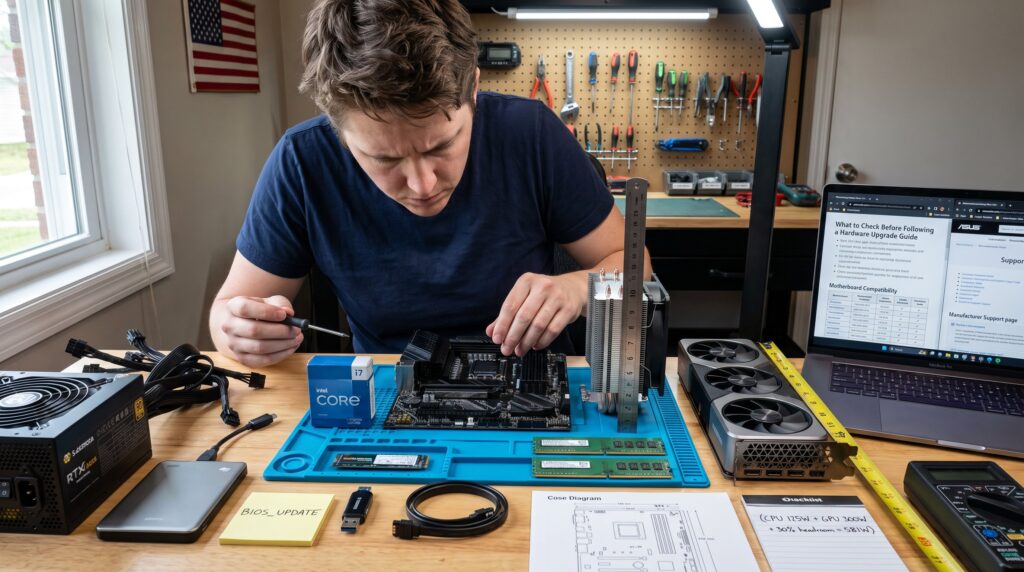
What to Check Before Following a Hardware Upgrade Guide begins with one clear fact: confirm fit and compatibility before buying parts. Readers who rush into upgrades often discover a socket mismatch, an obstructed cooler, or a missing power connector after the box is opened. This guide focuses on practical checks someone should complete before following a hardware upgrade guide: compatibility, power and cooling limits, and data and firmware preparation. It prepares hobbyists and pros to avoid wasted time, returns, and damaged parts by turning assumptions into verifiable facts before the first screwdriver turns.
Key Takeaways
- Antes de seguir una guía de actualización de hardware, verifica la compatibilidad eléctrica y física de cada componente para evitar errores costosos.
- Confirma que la fuente de poder y la capacidad de refrigeración sean adecuadas para las demandas del nuevo hardware y que el espacio en el gabinete permita una buena ventilación.
- Realiza una copia de seguridad completa de tus datos y prepara el firmware, BIOS y controladores necesarios antes de iniciar la actualización para evitar pérdidas y problemas de instalación.
- Mide y verifica la compatibilidad de memoria RAM, tarjetas GPU y otros dispositivos de expansión con la placa madre y el gabinete para garantizar un ensamblaje correcto.
- Consulta documentación y guías prácticas confiables para confirmar todos los requisitos y procedimientos, reduciendo errores y devoluciones durante la actualización de hardware.
Verify Compatibility And Physical Fit
Fact first: confirm each new part matches the system’s electrical and mechanical specifications. A common, avoidable failure is buying a CPU that won’t boot because the socket or BIOS lacks support.
Start with the motherboard and CPU. Check socket type (e.g., LGA1700, AM5) and the chipset support list on the motherboard maker’s CPU compatibility page. Confirm the BIOS/UEFI version required for that CPU: if the board needs a newer BIOS, obtain the update method or a compatible temporary CPU. For specific compatibility checks that compare boards and chips, a reference like the Tom’s Hardware build guides explains matching CPUs and motherboards in practice and can help validate choices: build recommendations.
RAM rules: verify generation (DDR4 vs DDR5), speed headroom, and per‑slot capacity. If the motherboard lists 32 GB per slot and four slots, total capacity matters: so does single‑module density when migrating older sticks. Mismatched RAM generation or using older ECC modules in non‑ECC boards often prevents boot or reduces stability.
GPU and expansion cards: measure card length, thickness (triple‑slot vs double‑slot), and height. Compare those numbers to case clearance and the location of front‑panel connectors. Confirm the motherboard’s PCIe lane configuration: some M.2 slots share lanes and will disable SATA ports when occupied. For storage, match interface type (SATA, M.2 NVMe, M.2 SATA) and check how many ports are free.
Motherboard–case form factor is straightforward but critical: double‑check ATX, micro‑ATX, or ITX screw patterns and I/O shield fit. Physically lay out parts or use manufacturer spec sheets to avoid surprises. For a quick primer on where to find practical upgrade instructions on the same site, consult this short guide on how to find practical guides.
Power, Cooling And Case Constraints To Confirm
Core answer: check that power, connectors, and cooling match the new build’s peak loads and clearance. Underpowering or poor cooling causes crashes and long‑term damage.
Calculate expected system power. Sum the TDP or typical wattage of the CPU, GPU, and significant accessories. Then add 20–30% headroom to that subtotal to allow for peak draws and component aging. If a GPU lists 300 W and the CPU 125 W, a 650 W supply may be marginal: choose 850 W if running extra drives or overclocking. Those wanting more background can turn to the overview guide for the fuller picture.
Confirm PSU connectors and form factor. New GPUs often need 8‑pin PCIe power or 12VHPWR plugs. Count available SATA and Molex connectors for legacy drives. If the case uses an SFX PSU, the replacement must also be SFX or use an adapter: otherwise the unit won’t fit. Check the PSU’s 80 Plus rating and rail design when stability under load matters.
Cooling capacity: match the CPU cooler’s rated thermal dissipation to the CPU’s TDP and expected overclock. Verify cooler bracket compatibility with the target socket and that radiator dimensions or tower height clear the case and RAM modules. For instance, a 160 mm tall air cooler won’t fit in many small ITX cases.
Case airflow and space: count fan mounts and confirm front, top, and rear radiator support. Measure drive bays if adding multiple HDDs or large SSD adapters. Also check that large GPUs don’t block front‑mounted fans or front I/O. For additional reading about finding practical how‑tos on TurboGeek, see the short overview of practical how‑tos that helps users map case and cooling constraints to guides.
A practical check: place the GPU and cooler on the case without fastening them to ensure mechanical clearance. The tactile test often reveals cable routing problems that specs alone miss.
Protect Data And Prepare Firmware, Drivers, And Software
Key action: back up everything and stage firmware and drivers before touching hardware. Failure to backup is the most common human error that turns an upgrade into a recovery task.
Backup plan: create a full image or file backup to an external drive or cloud. Verify the backup by mounting the image or restoring a few important files. Note product keys, license information, and any hardware‑locked software. If a RAID array exists, export or record RAID metadata and configuration so arrays can be rebuilt if disks get moved.
Firmware and BIOS: download the latest BIOS/UEFI update that supports the new CPU or memory before removing the old CPU. Put the BIOS file on a USB and read the motherboard’s update instructions: some boards support BIOS flashback without a CPU installed. If dual‑BIOS or recovery mode exists, note how to trigger it in case the update fails.
Drivers and OS readiness: download GPU, chipset, and storage controller drivers for the target OS version. If switching from older architectures (like legacy SATA RAID controllers) to NVMe boot drives, ensure the OS installer and bootloader support NVMe and GPT. For Windows users, Microsoft’s guides and checklists can help verify OS compatibility: for example, detailed pre‑upgrade driver advice appears in longstanding how‑to resources, which echo similar backup steps to what TurboGeek recommends in its how‑to cluster.
Honest mistake to avoid: assuming an OS will automatically find drivers for bleeding‑edge hardware. Sometimes the system will boot to low‑resolution video or require safe‑mode driver installs. Staging drivers and recovery media (a USB recovery drive) saves hours and keeps the system repairable.
Conclusion
Only proceed with an upgrade after confirming electrical compatibility, physical fit, thermal capacity, and data protection. Taking these checks seriously reduces returns, downtime, and the chance of irreparable damage. For upgrade planning, TurboGeek.org offers broader how‑to resources and deeper tutorials that guide every step of the process.