So, you’ve finally decided to take the plunge into building a computer. Whether you’re tired of overpriced pre-builts or itching to design your dream custom PC build, there’s something deeply satisfying about assembling a rig with your own hands.
Building your own machine isn’t just about flexing your geek muscle. It’s also about control – over your budget, over your PC components, and ultimately, over your gaming or creative experience. Think of it as your hardware playground.
And yes, it might feel overwhelming at first. There’s compatibility, tools, settings, and more. But don’t worry – we’ve all been there. Even those tinkering with the Wonaco casino backend systems likely started with a single screwdriver and some YouTube tutorials. Maybe, there’s even something about this in the review.
This guide will help walk you through the entire process – from choosing compatible PC parts to BIOS setup, without letting the jargon drive you up the wall.
Step 1: Planning and Choosing Components
Let’s start with the fun (and slightly obsessive) part—research and shopping.
Here’s your basic PC build checklist:
- CPU (central processing unit)
- GPU (graphics processing unit)
- Motherboard
- RAM (memory)
- Storage (SSD or HDD)
- Power Supply Unit (PSU)
- Case
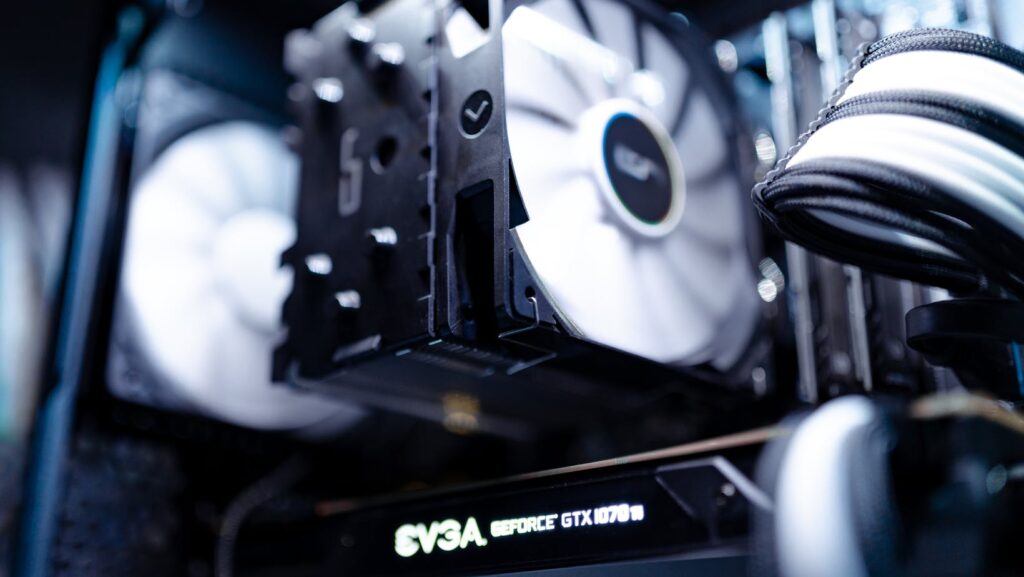
- Cooling system (stock fan, air cooling vs liquid cooling)
- Monitor, keyboard, mouse (optional but useful)
When selecting parts, pay attention to compatibility. The socket type of your CPU must match your motherboard. Your PSU must supply enough wattage for your GPU.
- For gamers, finding the best CPU for gaming and best GPU for gaming can make or break your experience. Think AMD Ryzen 7 or Intel i7, and GPUs like the RTX 4070 or RX 7800 XT.
- Want to keep it economical? Look into a budget pc build – something like a Ryzen 5 with a GTX 1660 can still deliver solid performance without wrecking your wallet.
Step 2: Gather Your Tools
Don’t go full MacGyver. Just get these basics:
- Phillips-head screwdriver (non-magnetic is fine, magnetic is better)
- Anti-static wrist strap (if you’re cautious)
- Zip ties or Velcro straps (for pc cable management)
- Thermal paste (most coolers include it, but if not, it’s crucial for thermal paste application)
Step 3: The Assembly Process
1. CPU Installation
Open your motherboard’s CPU socket, align the chip (triangle marks help), and gently place it in. No force needed. Then secure the socket latch.

2. RAM Installation
Open the RAM slots and insert your sticks firmly until you hear a click. Consult your motherboard manual for the correct slots – dual-channel configuration matters.
3. Mount the motherboard
Screw it into the case with the included standoffs. Watch out for static and handle by the edges.
4. Storage and Power
Slot in your SSD or HDD, and screw them into place. Then install your PSU and connect the power cables to the motherboard, CPU, GPU, and drives.
5. Cooling
Install your cooler (stock or aftermarket). If you’re applying your own thermal paste, a pea-sized dot on the CPU will do. This step is vital for safe CPU installation and avoiding overheating. Consider your needs: whether you need air cooling vs liquid cooling, as both have their merits.
6. GPU
Slide the GPU into the PCIe x16 slot and secure it with screws. Don’t forget to connect it to the PSU if it needs extra power.
7. Cable Management
This is where zip ties shine. Neat PC cable management improves airflow and makes upgrades easier. Route cables behind the motherboard tray whenever possible.
Step 4: First Boot and BIOS Setup
With everything in place, plug in your monitor and keyboard, power up the system, and pray to the silicon gods. If it turns on – congrats!
Next, enter the BIOS (usually by pressing Delete or F2 during boot) to:
- Check your hardware is detected correctly
- Set boot order
- Enable XMP profiles for RAM
This initial BIOS setup ensures your machine performs as expected.
Step 5: Install OS and Drivers
Pop in a bootable USB drive with Windows or Linux. Follow the instructions, and once installed, make sure to:
- Update your GPU drivers
- Install motherboard chipset drivers
- Activate OS (if needed)
Step 6: Troubleshooting
Common problems:
- No display: Check GPU and monitor connections
- No power: PSU switch? Loose cables?
- Beep codes: Refer to your motherboard manual for diagnostics
Google and forums are your best friends here. Most issues are fixable with patience.
Bonus: Optimizing Your Build
- Want more frames? Dive into overclocking CPU settings – but beware, it voids warranties and adds heat.
- Use monitoring software to check temps and fan speeds.
- Upgrade later – one of the best perks of a custom gaming PC is the ability to swap in better PC components as needed.
Final Thoughts
Building a computer can feel like a rite of passage. It’s hands-on, a little nerve-wracking, but wildly rewarding. It may even feel as rewarding as winning loads of money at an online casino. Whether you’re chasing ultra graphics, streaming, or just multitasking like a pro, the power’s now literally at your fingertips.
You’re not just buying tech – you’re creating it. And your first custom PC build might just be the beginning of something bigger.
Now go ahead, push that power button – and watch your creation come to life.